
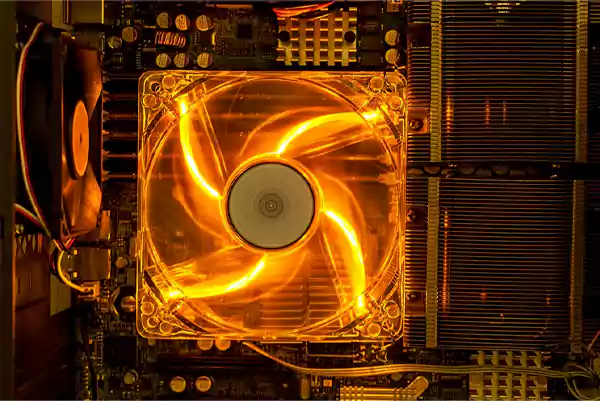
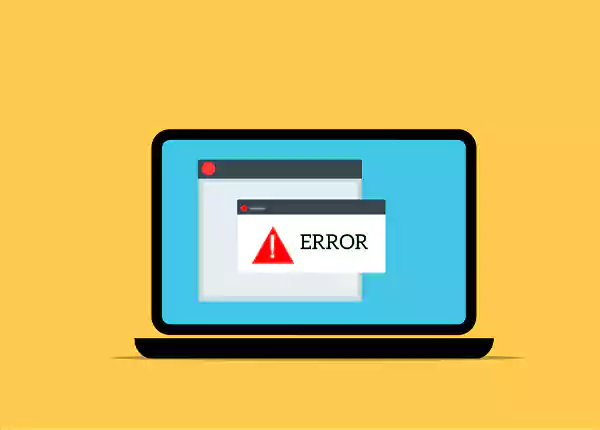
The Central Processing Unit (CPU) fan error is common in most computers. Usually, this warning appears just after starting the computer. It happens when a computer shuts down due to overheating. It may also happen when the fans cannot cool the hardware sufficiently.
The most typical error in ASUS computers is the CPU fan error Asus. CPU fan error on boot is a serious issue for your computer. You don’t need to worry, though, because there are a few simple steps you can take to fix this annoying CPU fan speed detection error quickly.
What Causes the CPU Fan Error?
Sometimes, when you turn on your computer, you might see a message that says: processor fan failed to respond correctly.
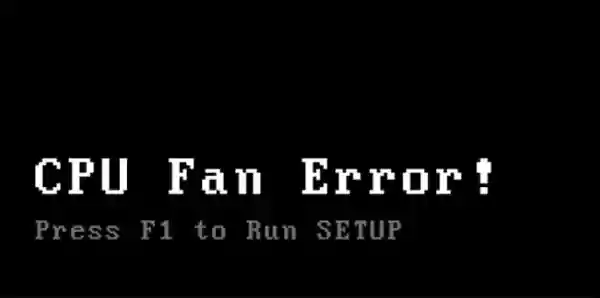
When you see these messages, it means the fan in your computer isn’t doing its job. Ignoring these warnings can lead to overheating, which can damage your computer’s internal components. Therefore, it’s crucial to address these errors promptly.
Here are some reasons why your CPU fan might not be working:
- Broken Fan: Sometimes, the fan itself is broken. It might not spin or make strange noises.
- Too Much Heat: If your computer is in a place that’s very hot or sunny, it can get too hot inside. This can make the fan work too hard, and it might stop working.
- Dust and dirt: Dust and dirt can get inside your computer and clog up the fan. When the fan is clogged, it can’t cool your computer properly.
These are some possible explanations for this error. However, other factors like the environment and manufacturing defects might play a crucial role in this.
How to Fix the CPU Fan Error
Now that you have a good understanding of this issue, let’s explore step-by-step solutions to fix a CPU fan error:
1. Change the Environment
If your computer is in a location with high ambient temperatures or direct sunlight, move it to a cooler area. Ensuring proper environmental conditions is the first step in preventing overheating.

2. Cease Overclocking
Overclocking your CPU can result in increased heat production. If you’ve overclocked your computer, revert to the default settings to reduce the risk of overheating.
3. Clean the Air Vents
Use a vacuum cleaner, compressed air, or an air gun to remove dust and debris from your computer’s air vents. Maintaining clear airflow is essential for effective cooling.
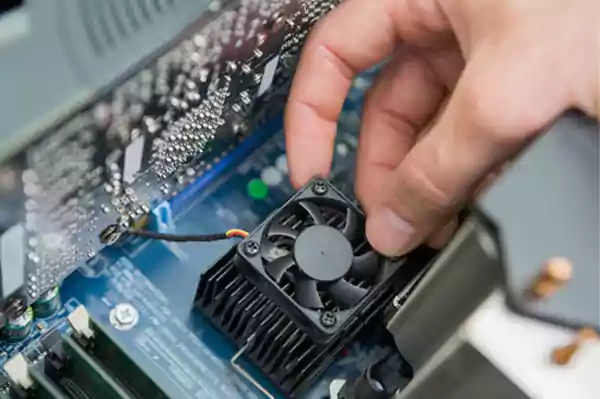
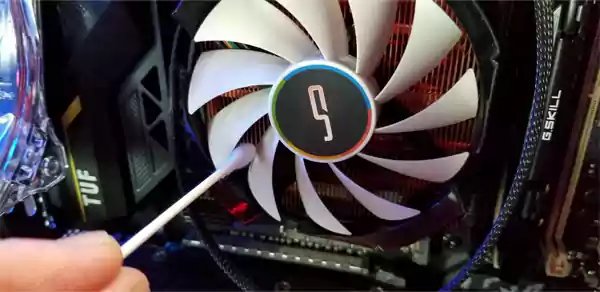
4. Clean the CPU Fan
Turn off your computer, unplug it, and open the case. Use compressed air or an air gun to clean the CPU fan and heat sink carefully. Avoid using liquid cleaning agents, as they can damage components.
5. Inspect the Fan
Visually inspect the CPU fan and ensure it is securely in place. If necessary, reattach the fan using a screwdriver or adhesive.
Note: Make sure that the CPU is completely off and disconnected from all power sources before inspecting anything inside of it. When shutting down your computer, be sure to select Shut Down rather than Sleep.
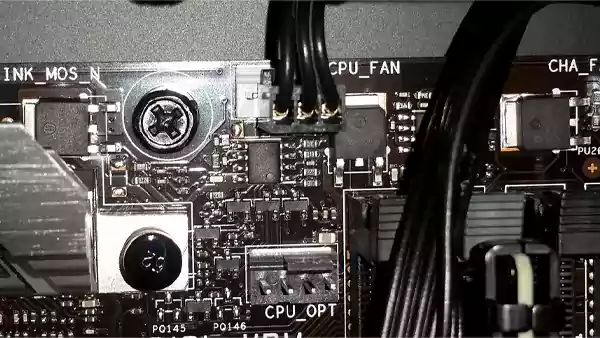
6. Check Fan Connections
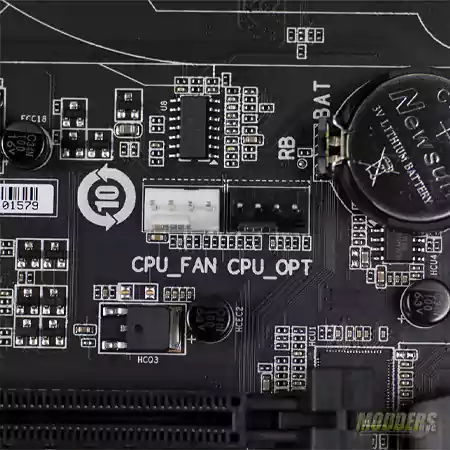
Verify that the CPU fan is correctly connected to the CPU header on the motherboard. The header is typically labeled “CPU Fan” and has three holes for the fan’s plug.

7. Try a Different CPU Fan Header
If your motherboard has multiple CPU fan headers, plug the fan into a different slot. Occasionally, this simple step can resolve CPU fan error on boot.
Remember to be careful when working with your computer’s insides. If you’re not sure about something, check your computer’s manual or ask for help. Also, remember that opening some computers can void the warranty.
Read More: How to Fix ChatGPT Network Error? Know Why it Happens & 10 Best Ways To Fix It
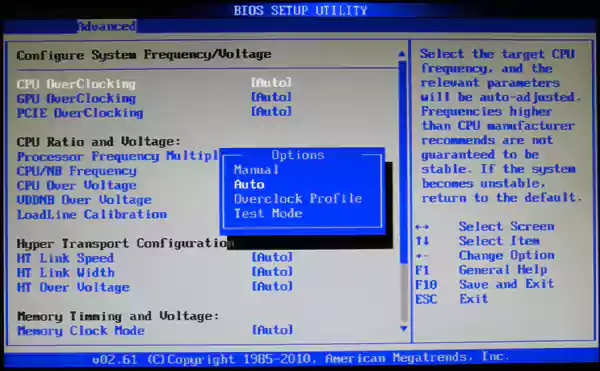
BIOS Settings to Fix CPU Fan Error
If you are certain that your CPU fan is functioning correctly and your computer isn’t overheating, you can bypass the error message by modifying a BIOS setting.
However, there is always a constant risk of data format loss while using BIOS mode, so make sure to backup files.
Users are advised to exercise caution while making advanced BIOS changes.
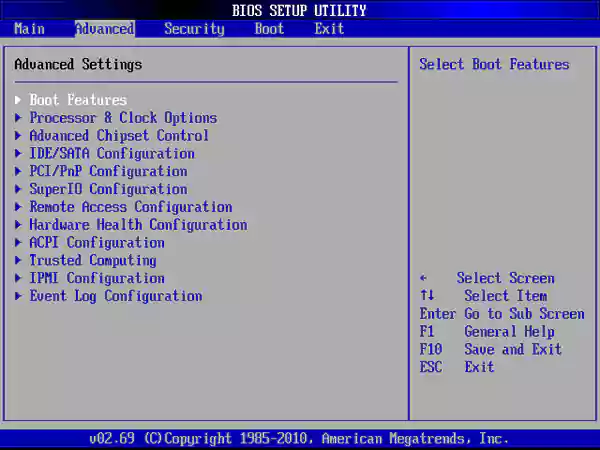
- Access your computer’s BIOS settings and navigate to the hardware monitor section.
- Ensure that “Active Heat Sink” and “Fan Duct with Fan” are enabled while “Passive Heat Sink” and “Fan Duct without Fan” are disabled.
- Save your changes and exit the BIOS.
Additionally, BIOS settings can be helpful if you get a warning message of error 0135 CPU fan failure. Let’s discuss this error and some effective ways to fix it in the next section.
What is Error 0135?
Error 0135, also known as CPU Fan Failure, is a common name for a system error message produced by the BIOS of a Lenovo computer during boot-up.
This error suggests that the computer’s CPU fan is malfunctioning or has stopped working altogether. Let’s discuss some ways to fix this error.
Methods to Fix Error 0135 CPU Fan Failure
Here are a few methods to fix error 0135 on a Lenovo computer. Due to the requirement for BIOS booting, proceed with caution through these steps.
1. Reset the BIOS
You should attempt to reset the BIOS and see if the problem still exists. The procedure for completing the task is listed below:
- Press the “F1” key while the computer is turned ON until the Lenovo logo appears on the screen to enter the BIOS menu.
- If you want to restore the BIOS to its factory settings, press the “F9” key and choose YES.
- As soon as you press the “F10” key, the changes you made to the BIOS will be saved, and the computer will restart itself.
Check if the problem is still present, then move on to the next method.
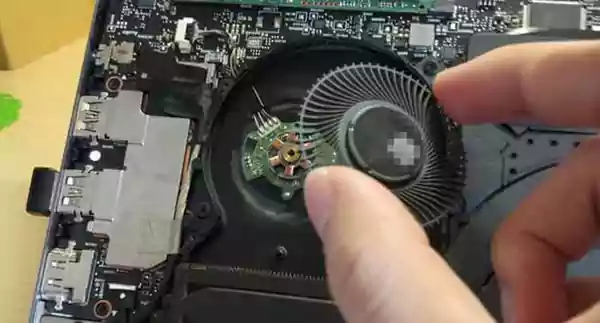
2. Disconnect and Reconnect the CPU Fan Cable
The motherboard must also be connected to the fan on the processor cooler you installed earlier. Your motherboard may display an error message, or the processor may overheat quickly and cause an automatic shutdown.
The motherboard regulates the processor’s fan speed, just like it does for the case fans.
Note: The fan’s connection to the motherboard needs to be verified at that point. If this isn’t the case, you’ll need to unplug the CPU fan cable before replugging it in.
Attach the CPU fan to the motherboard’s “CPU_FAN” connector, which is ordinarily situated next to the processor socket. This connector will either have three or four pins. It will only plug in one direction, just like the other connections.
3. Restart the Computer
Restarting your computer can also help you here:
- Go to your Lenovo computer and press the “win” key on the keyboard or click “Start” in the bottom left corner of the screen.
- Find and click the right arrow next to the “Shutdown” button after selecting the “Start” button.
- Next, select “Restart” from the menu that appears by pressing the right arrow.
If Error Code 0135 still appears after restarting your computer, it is strongly advised that you contact the Lenovo Technical Support team to receive comprehensive solutions and additional help with this issue.
Read More: How to Format an SSD for Windows and Mac: The Ultimate Guide
Conclusion
A CPU fan error message typically appears during the system’s boot-up process and indicates a problem with the cooling fan responsible for dissipating heat from the central processing unit (CPU).
To resolve this error, users should first check the fan’s connections, ensure it’s clean from dust and debris, and replace it if necessary.
Ignoring this error can result in reduced system performance and long-term hardware damage, making it important to address it promptly for the health and longevity of your computer.
FAQs
Ans: It might be a sign of a CPU fan error. Try to reboot your computer to solve this problem.
Ans:
- Launch the BIOS
- Navigate to the Advanced Settings
- Find the Monitor Section
- The CPU fan speed should be changed to Ignore and Confirm Changes.
Ans: Open the case after shutting down and unplugging your computer. The CPU fan and heat sink should be carefully cleaned using compressed air or an air gun. By following these steps, you can solve the CPU fan speed error.